Multiplex - a comic strip about life at the movies
DELETED SCENES

Archive for the ‘Bonus Comics’ Category


A Friend In Need

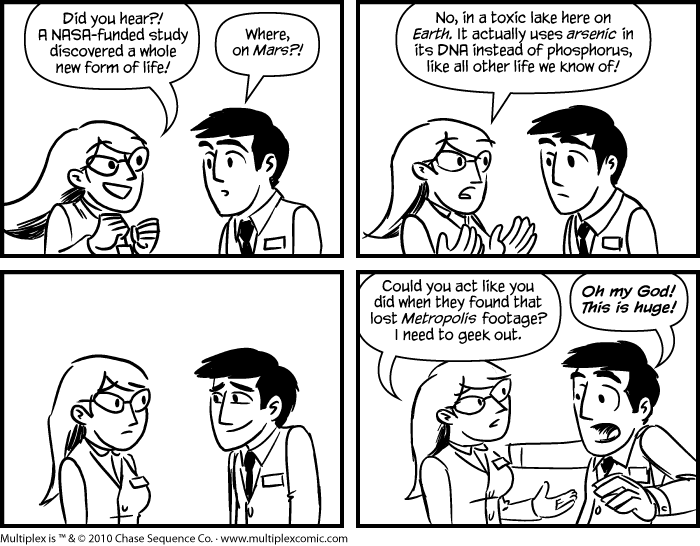
This quickie hand-drawn comic was originally posted as a TopWebComics vote incentive on December 2nd. The news Becky mentions is, of course, true (although since then, doubts have been raised.) If you’re WAY behind, here’s some background about the lost Metropolis footage.

Yes, I will do more hand-drawn Multiplex comics as time permits. No, I will not start drawing the regular updates by hand, except in the same sorts of instances I have before: imaginary scenes, flashbacks, and such.

How I Draw Hand-Drawn Comics, Part 2

In Part One, I covered how I pencil hand-drawn comics (on the relatively infrequent times that I get to do them). Next comes inking.

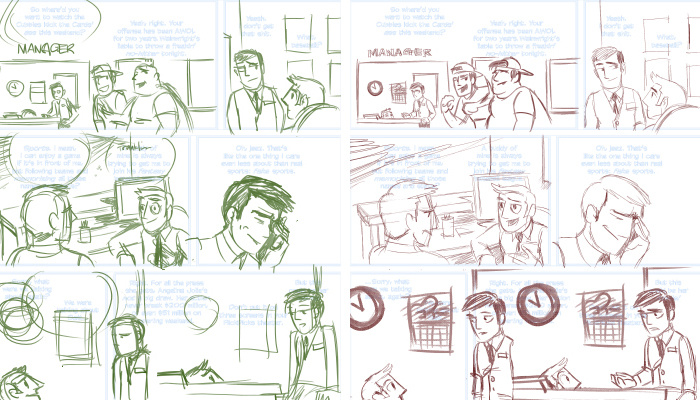
I left off with the finished pencils. I scan those in and print them out again onto Bristol board so that — if I screw up a page (or panel) irretrievably — I can print out a new page and take another shot.

I ink with a Winsor & Newton Series 7 #2. I’ve used cheaper brushes, but they’ve all lost their points much more quickly than some of my oldest Series 7’s. I’m sure there are other, good brands for cartooning, though; I’ve just never used one. I’ll occasionally use a #1 for smaller details (although oftentimes, it’s just as easy — or even easier — to use the larger brush), and I often pull out the old Microns for the dots of characters’ eyes or other small details where an even line doesn’t hurt.

If a brush gets a stray hair that will just not get back into shape, I use a cuticle trimmer and snip the stray hair out at its base. It keeps my brushes in active duty a lot longer.

One of the things I can never quite get the hang of with digital inking is turning the Cintiq in order to get the best line of attack on a line, like you can with a physical page. Clearly, other people don’t have this problem, so don’t take that as some sort of argument that traditional techniques are better than digital. (And, y’know, it’s me. I draw Multiplex. Obviously, I don’t have a problem with digital art.)

I generally avoid using a ruler at any point when I ink, because I like my inks to look organic (or maybe I’m just lazy). With this strip, I left the panel borders and lettering for the computer, so you can see that I just ran my lines off into the gutter and off the page; they’ll get masked off after I scan the inks in.

I keep two jars of distilled water at my table: one for my bleedproof white brush, and one for the India ink. I use Speedball, but tend to let it sit out and evaporate a bit to thicken up before I use it — if it gets too thick, I add some distilled water. I use Winsor & Newton Bleedproof White, which will solidify after sitting around in the jar, but you can just add some distilled water and stir it up and it’ll bounce back (even after months and months of sitting around).

As a leftie, I should, but I forget this a lot and end up smudging my inks sometimes. So, out comes the bleedproof white, and I’ll fix any smudges and do some light touch-ups before I scan in my inks.

Below, you can see my inks without the letters and borders (left) and then with them (on the right). Apparently I forgot to ink the word “Manager” above the Manager’s Station and the movie poster frame behind Jason in the last two panels. Oops.
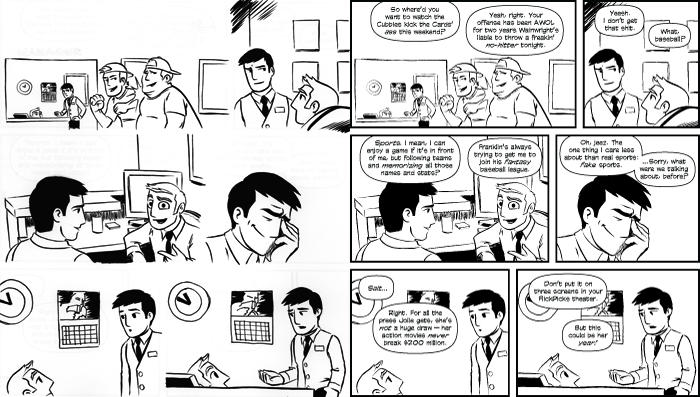
Next comes the retouching. Some things you can fix more easily with bleedproof white and a little re-inking; other times, you need Photoshop. My hand isn’t especially steady, so I almost always use Photoshop and my trusty Cintiq to do some touch-ups on the final inks. I kept that to a minimum on this page, only straightening out the top of the Manager’s Station in the first panel, moving Kurt’s head down a little in the second to last panel. If I’ve forgotten to ink anything, I’ll tend to do it digitally, rather than scan in my inks again.

At this point, I’ll add in the balloon pointers and call it a day (unless I need to color it, which I’m not doing for this strip).

After the cut, you can see how the finished page looks.

(more…)
How I Draw Hand-Drawn Comics, Part 1

I say this a lot when I talk to kids: There’s no such thing as learning “how to draw”; there’s only how you draw. Me, I draw little weird, but here’s how I do it.

First, obviously, you need an script. The idea for this comic was for one of the Kickstarter backers, Kirk Damman. He requested something about the Cubs/Cards rivalry. Bad news for him, though: I don’t know squat about baseball. So I took it in my own direction after a little brainstorming.

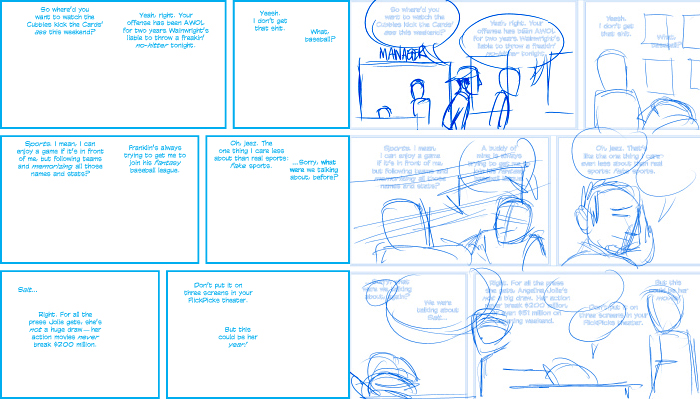
When I write for myself, whether I’m drawing something by hand or in Illustrator, what I end up doing is start with a blank template and start typing dialogue. I try to keep the bare amount of dialogue to hit the beats needed to get from Point A to Point B — in this case, from the premise (movie geek sort of ranting about not getting baseball) to the inversion of it (the idea that he’s basically a hypocrite). It’s a common set-up, particularly with Jason.

With vector-drawn comics, one luxury I have is the ability to revise dialogue until the last minute, because I’m constantly able to recompose a panel around a larger or smaller word balloons, shift panels around, or whatever.

With hand-drawn stuff, I need to plan things out a lot better, because once I ink a page, I can’t revise things nearly as easily. After the dialogue is pretty much nailed down, I cut and paste the panel borders and letters into Manga Studio Debut and scribble out little more than stick figures and a few scratches to get the general idea down.

I try to do at least three passes of thumbnails, with each pass getting tighter and fine-tuning the composition of each panel. The more thumbnails I do, the better my finished pencils turn out. A better inker than I — or someone with a looser style, at least — could probably get away with just a couple of scribbles and jumping straight into inks, but not me.

I do each pass on a separate layer in Manga Studio, keeping the previous pass visible at about 15% opacity. I typically change colors on each layer, so that I can easily distinguish which lines are from which pass. This is roughly analogous to the way I use Colerase pencils for penciling.

This is where my process gets a little weird. I like the ability to digitally tweak my thumbs in Manga Studio, but for finished pencils, I prefer the way a real pencil feels and reacts to real paper — so what I’ll print out the final pass of thumbnails onto Bristol paper using my large format inkjet and do my finished pencils traditionally. Printing that out at about 10–15% cyan is basically the equivalent of a non-photo blue; it won’t get picked up by the scanner (or if it does, it will barely be noticeable). Before I got the large format printer, I would use a lightbox to “transfer” my thumbs to the Bristol page. It was slower, but it worked well, too.

I do my finished pencils on top of the printed-out last round of thumbs with a Colerase Dark Blue pencil. The finished pencils for this comic were done at about 11″x14″; you can see them below (after the cut). Before I ink a page, I scan my pencils in and print them out again, so that if I screw up the inks dramatically, I can just print out another page — but I’ll get to that in Part Two.

(more…)

Franklin Explains EVE Online

In this Kickstarter backer comic for Chase Davis, Jason and Becky have decided to let Franklin teach them how to play EVE Online, a science fiction MMO that I was addicted to for the better part of two months about a year ago. It’s such an amazingly deep game that it’s all but impossible to sum up in only one page, so I had to cut out massive swaths of dialog until you get what you see here. But people familiar with the game will understand what they’re talking about. And hopefully some of the rest of you will, too.

This is probably the last of the Kickstarter backer comics I’ll be sharing here. The others have requested their strip not be posted online. But there will be other hand-drawn Multiplex comics coming… sooner or later. This is what Deleted Scenes is all about.

(more…)